Erosion Control Design: Why Rip Rap is the Bedrock of Stability

Why Rip Rap Erosion Control Design Is the Foundation of a Lasting Shoreline
Rip rap erosion control design is the engineering process of selecting, sizing, and placing large angular stones to protect soil from being washed away by water forces — including waves, currents, and stormwater runoff.

Here’s the quick answer for implementing rip rap erosion control design:
- Assess your site — measure slope, soil type, wave exposure, and water depth
- Size your stone — calculate the median stone diameter (D50) based on flow velocity and shear stress
- Specify gradation — use a well-graded mix where the largest stone is no more than 1.5x the D50
- Install a filter layer — place geotextile fabric or granular bedding beneath the stone to prevent soil piping
- Set layer thickness — minimum of 350 mm, or 1.5x D50, whichever is greater
- Protect the toe — key riprap into the bank bottom to prevent undermining
- Inspect after storms — repair dislodged stones promptly to prevent progressive failure
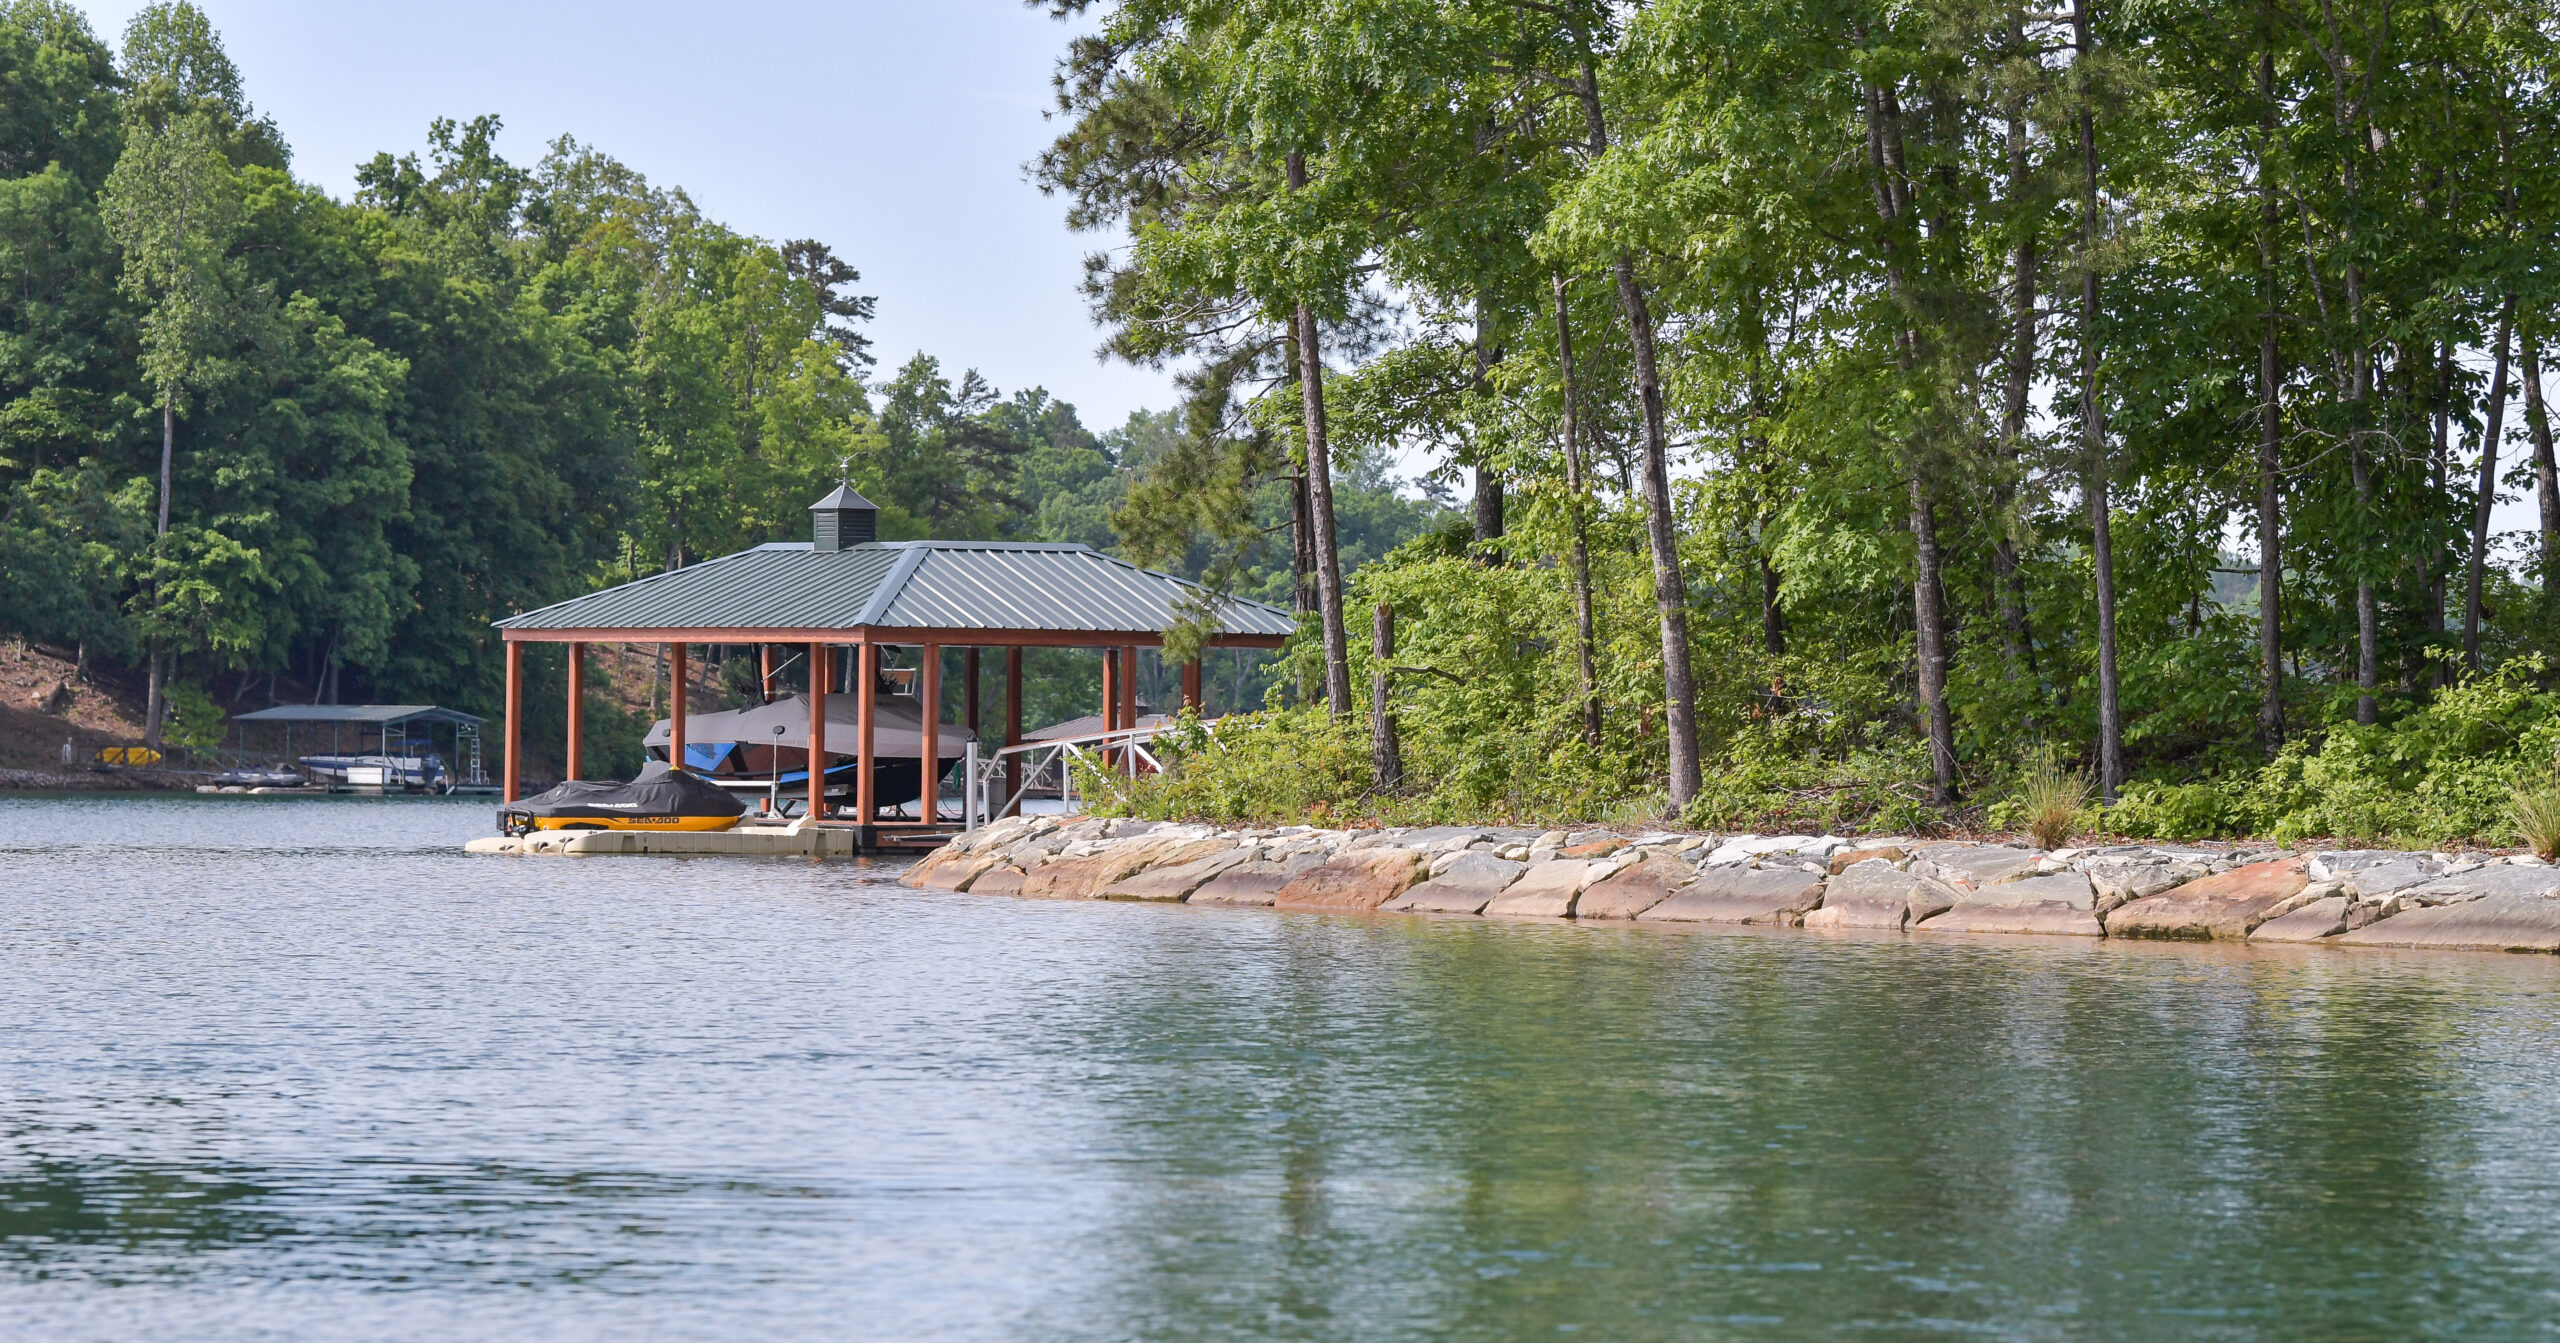
For Keowee lakefront property owners, erosion is more than an inconvenience. Wave action, boat wakes, fluctuating water levels, and seasonal storms can quietly eat away at a shoreline — destabilizing docks, undermining walkways, and eroding land you paid a premium for.
Rip rap has earned its reputation as the most widely used erosion control method in the United States for good reason. It’s durable, flexible, locally available, and — when properly designed — it can handle the full force of what a lake throws at it.
But not all rip rap is created equal. The difference between a shoreline that holds for decades and one that slumps after a single hard storm almost always comes down to design.
This guide walks you through exactly how to get it right for Lake Keowee shores.

Core Principles of Rip Rap Erosion Control Design for Lake Keowee
When we talk about rip rap erosion control design, we aren’t just talking about “dumping rocks” on a bank. If you do that, the water will eventually find the gaps, wash the soil out from behind the stones, and your expensive rock pile will end up at the bottom of the lake. True stability comes from understanding the physics of how water interacts with stone.
The first thing to consider is the stone itself. In our experience working on Southeast lakes like Lake Keowee and Lake Hartwell, the shape of the stone is just as important as the size.
Angularity and Interlocking Friction

There is a massive difference between rounded river rocks and angular quarry stones. Rounded stones might look pretty, but they act like marbles. When wave energy hits them, they want to roll and slide. In contrast, angular stones have sharp, irregular edges that create “interlocking friction.” They lock into one another like a jigsaw puzzle, creating a unified mass that resists movement.
The D50 Median Diameter and Gradation
In engineering, we use the term D50. This refers to the median stone diameter—the size that 50% of the stones in the mix (by weight) are larger than. For a typical shoreline, median stone diameters often range from 9.5 to 23 inches.
According to the New York State Standards and Specifications for Erosion and Sediment Control Section 5B, a well-graded mixture is essential. You don’t want all your stones to be the same size. You want a variety of sizes so that the smaller stones can fill the voids between the larger ones. This creates a denser, more “armored” surface. A good rule of thumb is that your largest stone should be no more than 1.5 times the D50 size, and your smallest should be at least 1 inch to avoid being washed away.
Layer Thickness and Stone Quality
How thick should your “blanket” of rock be? The standard rip rap erosion control design suggests a minimum thickness of 1.5 times the D50 or the diameter of the largest stone (D100), but never less than 6 inches (or 350 mm in some regulatory jurisdictions).
Quality matters, too. We always look for high-density, durable stone like granite. Granite has a high specific gravity (usually 2.5 or greater), meaning it’s heavy enough to stay put and tough enough to resist the freeze-thaw cycles that can crack softer rocks like limestone or shale.
Determining Stone Size for Rip Rap Erosion Control Design
How do you know if you need 6-inch stones or 24-inch stones? It comes down to hydraulic forces. Designers look at:
- Flow Velocity: How fast is the water moving?
- Shear Stress: The “dragging” force of the water against the bank.
- Bank Slope: The steeper the bank, the larger the stone needed to overcome gravity.
Engineering manuals like the Design of Riprap Revetment use specific sizing equations to calculate the required D50. For example, if you are on a high-traffic area of Lake Hartwell where boat wakes are constant, you’ll need a higher “stability factor” to ensure the stones don’t migrate over time. You can learn more about how we apply these standards specifically to local shorelines at riprap-seneca-sc-lake-keowee.
Essential Filter Layers and Geotextiles
If you take away one thing from this guide, let it be this: Never place rip rap directly on top of soil.
Without a filter layer, a phenomenon called “soil piping” occurs. As waves hit the rocks and recede, they pull tiny particles of soil out through the gaps in the stones. Over time, this creates a hollow space behind the rip rap, leading to a “translational slide” where the whole system collapses.
To prevent this, we use high-quality geotextile filter fabrics. These fabrics are designed with a specific “Apparent Opening Size” (AOS) that allows water to pass through (relieving hydrostatic pressure) while keeping the soil in place. In some cases, a granular bedding of smaller crushed stone is used instead of, or in addition to, fabric. This is why why-erosion-control-matters; it’s the invisible layer that actually keeps your backyard from disappearing.
Step-by-Step Implementation of Rip Rap Revetments
Now that we understand the “why,” let’s look at the “how.” Implementing a rip rap erosion control design requires heavy equipment, precision, and a bit of muscle.
1. Site Assessment and Subgrade Prep
We start by clearing the area of debris and organic matter (like rotting stumps) that could decompose and create soft spots. The bank is then graded to a stable slope. A critical rule in the industry is that rip rap revetments should not be used on slopes steeper than 2:1 (2 horizontal to 1 vertical). If your bank is steeper than that, the rocks will likely slide down into the lake under their own weight.
2. Placing the Filter
Once the slope is smooth and compacted (usually to 95% Standard Proctor density), we lay down the geotextile fabric. We overlap the edges by at least 2 feet to ensure there are no gaps for soil to escape.
3. Stone Placement: Hand-Placed vs. Machine-Dumped
This is where the quality of the finish is decided.
| Feature | Machine-Dumped Rip Rap | Hand-Placed Rip Rap |
|---|---|---|
| Cost | Lower (as little as $64/cu yd) | Higher (up to $750/cu yd) |
| Stability | Moderate; higher void ratio | Maximum; interlocking stones |
| Aesthetics | Random, rugged look | Clean, contoured, professional |
| Longevity | Good | Superior; resists shifting |
While machine-dumping is faster, we often prefer a hand-placed approach for luxury lakefront properties. Hand-placing allows us to interlock the stones like a dry-stack wall, minimizing voids and ensuring the stones follow the natural contour of your shoreline. This is a core part of our erosion-control-for-lakefront-properties philosophy.
Critical Toe Protection and Scour Prevention
The most common cause of rip rap failure is “toe scour.” This happens when water currents or waves erode the lakebed right at the base of the stone wall. Once the “toe” is undermined, the stones above it slide down into the hole, and the entire revetment fails.
To prevent this, we use “toe trenches” or “launching aprons.” According to Section 7E-10 – Rip Rap, the toe should be keyed into the foundation at a depth of at least 2.25 times the D50. This ensures that even if the lakebed shifts slightly during a storm, the base of your erosion control remains solid.
Maintenance and Regulatory Compliance for Rip Rap Projects
A great rip rap erosion control design is “set it and forget it” for the most part, but it’s not entirely maintenance-free.
Post-Storm Inspections
After a major flood or a season of heavy boat wakes, you should walk your shoreline. Look for:
- Dislodged stones: If one stone moves, it can weaken the “puzzle” and lead to more movement.
- Slumping: Any signs that the fabric is bulging or the rocks are sinking.
- Vegetation: While some plants can add stability, large woody brush or trees growing through the rip rap can actually push the stones apart with their roots.
Regulatory Navigation
Before you move a single rock on lakes like Lake Jocassee or Lake Murray, you need to be aware of the rules. The U.S. Army Corps of Engineers (USACE) often has jurisdiction over shorelines. There are also “fisheries windows”—specific times of year when construction is restricted to protect fish spawning.
Maintaining a beautiful and healthy shoreline means working within these guidelines to ensure your project doesn’t just protect your land, but also protects the lake’s ecosystem.
Advanced Design for Special Conditions
In some high-flow areas—like near a dam or a narrow channel—standard rip rap might not be enough.
- Overtopping Flow: If water is expected to flow over the top of the rip rap, we have to design for “interstitial flow,” where the water moves through the gaps between the rocks.
- Ice and Debris: In areas where ice might push against the shore, we often increase the layer thickness by 15-30 cm to provide a “sacrificial” layer of protection.
- Freeboard: We typically include a “freeboard” of about 0.6 meters (2 feet) above the expected high-water mark to account for wave run-up and unexpected surges.
Frequently Asked Questions about Rip Rap Design
What is the maximum allowable slope for rip rap installation?
The golden rule is 2:1 (1V:2H). If you try to install rip rap on a 1:1 slope, gravity will eventually win, and the stones will slide. For slopes steeper than 2:1, you may need to look at alternative methods like gabions (wire baskets filled with rock) or retaining walls.
How much does rip rap erosion control typically cost?
Costs vary wildly based on the method of installation and the stone used. Random, machine-dumped rip rap can be as affordable as $64 per cubic yard. However, for a premium, hand-placed finish that offers maximum stability and beauty, costs can reach $750 per cubic yard. The investment pays for itself by preventing the loss of valuable square footage and protecting your dock’s foundation.
Why is well-graded stone better than uniform stone sizes?
Imagine a jar filled with golf balls. There are lots of big gaps between them. Now imagine a jar filled with golf balls, marbles, and sand. The smaller pieces fill the gaps, making the whole mass much heavier and harder to move. Well-graded rip rap works the same way—it creates a dense, interlocking armor that water can’t easily penetrate.
Conclusion
Your lakefront property is an investment in your family’s lifestyle and your financial future. Don’t let the slow, steady force of erosion take it away. A professionally engineered rip rap erosion control design is the single best way to ensure your shoreline remains stable, beautiful, and functional for generations.
At Kroeger Marine, we’ve been perfecting the art of shoreline stabilization since 1985. We don’t just “drop rocks”—we craft handcrafted, high-quality solutions tailored to the unique conditions of the Southeast’s most beautiful lakes. Whether you are in Seneca, SC, or on the shores of Lake Lanier, our team has the expertise to build what lasts.
Ready to protect your investment? Explore our erosion-control services and see how we can turn your eroding bank into a bedrock of stability.
Serving Seneca, Salem, Clemson, Six Mile, Walhalla, Westminster, Pickens, and Pendleton.

